In the previous post on implementation, we were entering in the planning phase of implementation, the Implementation Architecture, Data Flow, Sizing and Topology, etc.,
In this post, we are getting our hands on the building the AVDF system brick by brick.
Implementation Phases
1. Build:
Provision AVDF server,
AVDF agent,
GoldenGate Microservices host,
Source DB prerequisites.
2. Configure:
Create GoldenGate credential and extracts,
Define XML trail directory,
Configure AVDF transaction log audit trail and validate permissions.
3. Validate:
Run EBS DML and test transactions,
Confirm XML generation,
AVDF ingestion,
Report visibility.
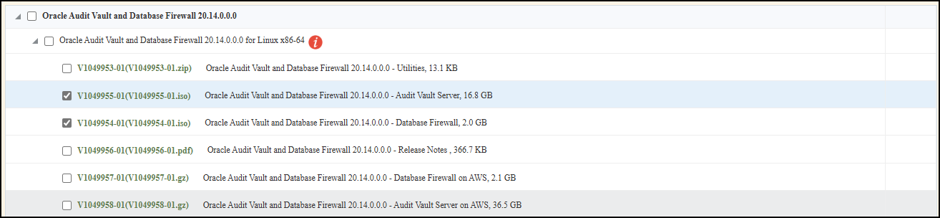
Download the AVDF Software from Oracle E-delivery
Login to https://edelivery.oracle.com with your oracle support credentials and search for “Oracle Audit Vault and Database Firewall”, in All Categories, choose Release and you’ll see the available versions to download select the required version, add to cart. Click on the cart icon and choose the required OS and download.
Installing Oracle Audit Vault or Database Firewall
For performing the installation, I would suggest following the Oracle documentation to perform on an on-prem environment / on an AWS / on an Oracle private cloud appliance.
If you still have any queries or doubts during the installation, feel free to reach out via Contact Page.
SSH user Creation and Configuration
Create a new user after the installation for login to Audit vault and Database firewall servers to perform action instead of root or any other seeded users.
Login in as root user and add new user to the existing support group
useradd -G support avdfusr
Set password the above created user
passwd avdfusr
Edit the sudoers file and add the below line to allow the user
visudo
%wheel ALL=(ALL) ALL
Modify the usergroup
usermod -aG wheel avdfusr
Validation
Switch user to the newly created user
su – avdfusr
Verify the user status
groups
sudo whoami
Audit Vault Server Post Installation Steps
Perform the below activities to complete the Audit Vault server post installation steps
Accessing Audit Vault (AV) console
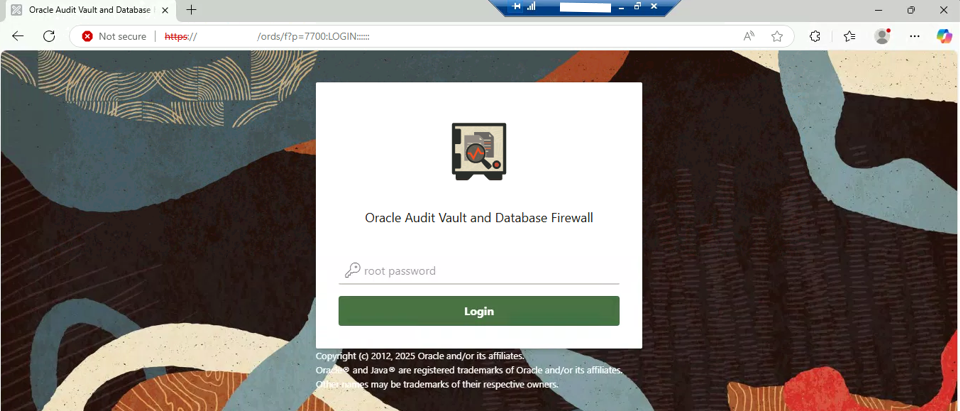
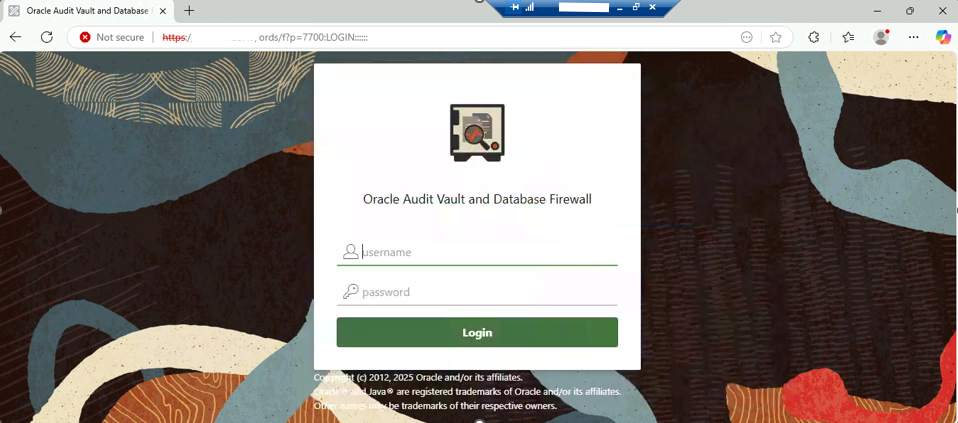
Once the installation is completed, enter the URL https://<ip_address>/console
Login as with root password
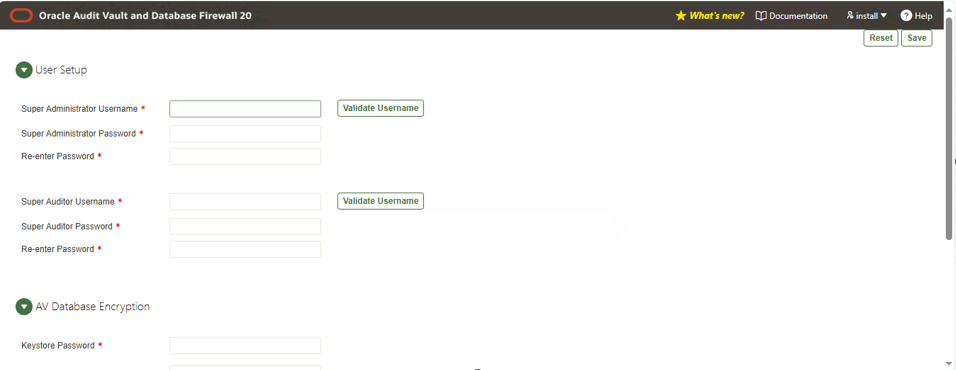
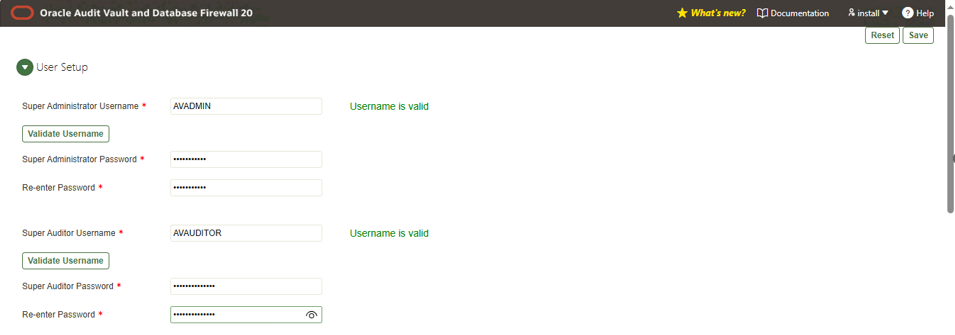
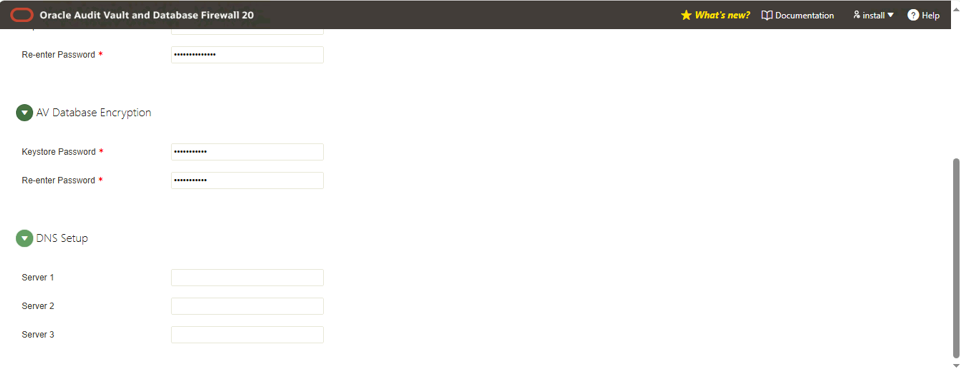
Once logged in, you’ll be prompted for setting the username and passwords for Super Administrator, Super Auditor and Audit Vault Database Encryption
Enter desired details and save to proceed with logging into the audit vault console.
Note: DNS Setup will be done in later steps
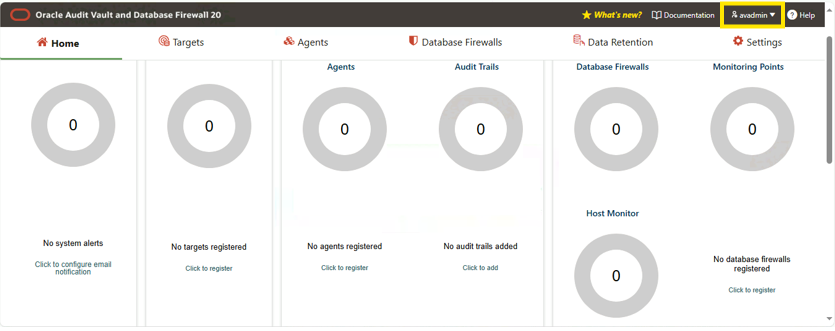
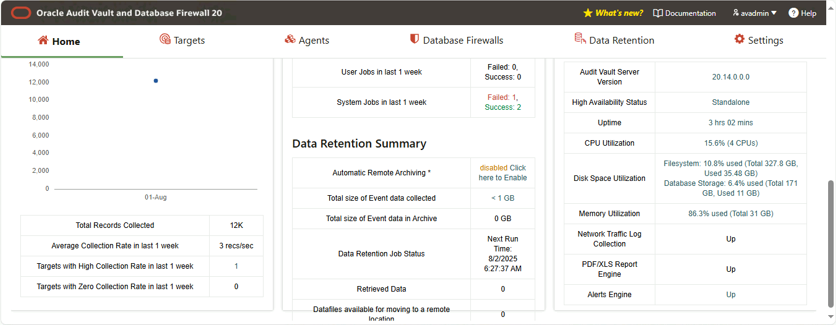
Login with the above created details
Login as AVADMIN and Create Additional Admin User
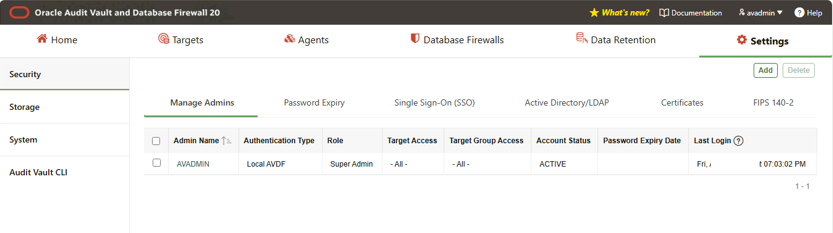
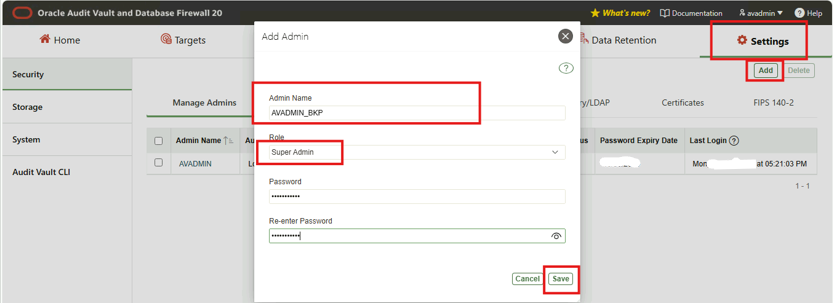
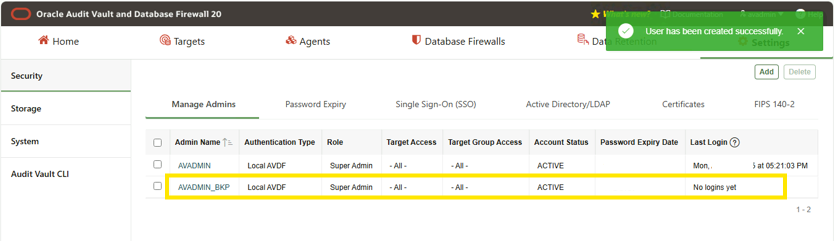
Login as AVADMIN and create additional super administrator user to avoid lockout of administrator access in AVDF
Navigate to Settings -> Manage Admins -> Add
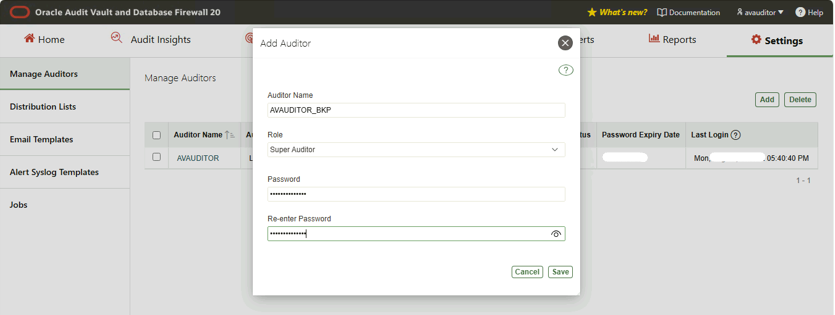
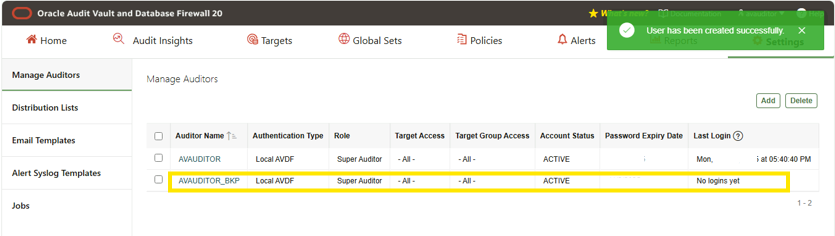
Login as AVAUDITOR and Create Additional Auditor User
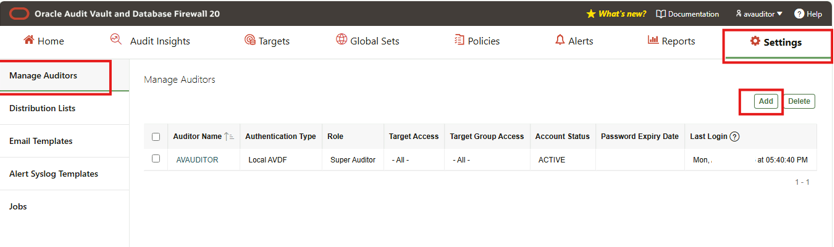
Login as AVAUDITOR and create additional super auditor user to avoid lockout of auditor access in AVDF
Navigate to Settings -> Manage Auditors -> Add
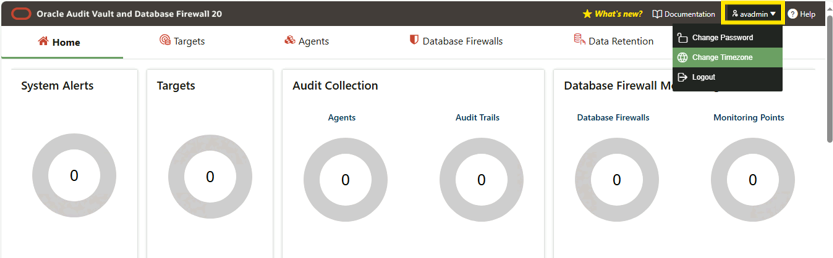
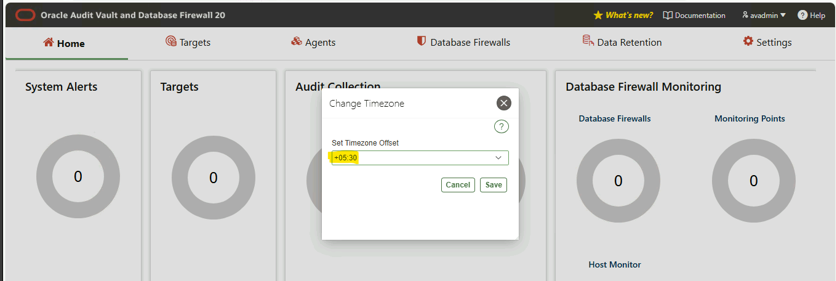
Verify/Change Time Zone
Login as AVADMIN and navigate as below.
Verify AVDF Certificates
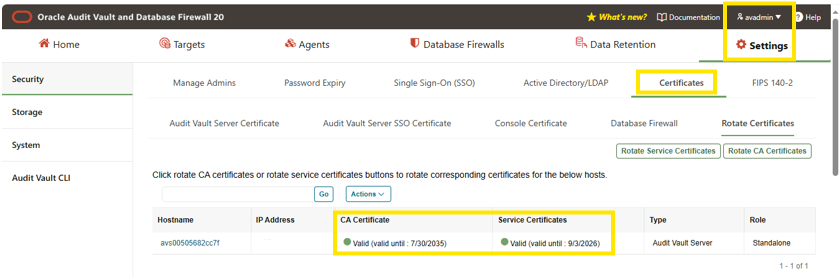
Login as AVADMIN, navigate to Settings -> Certificates and review the valid until for CA Certificate and Service Certificates.
Network Connectivity Validation between AV, DF servers and Target servers
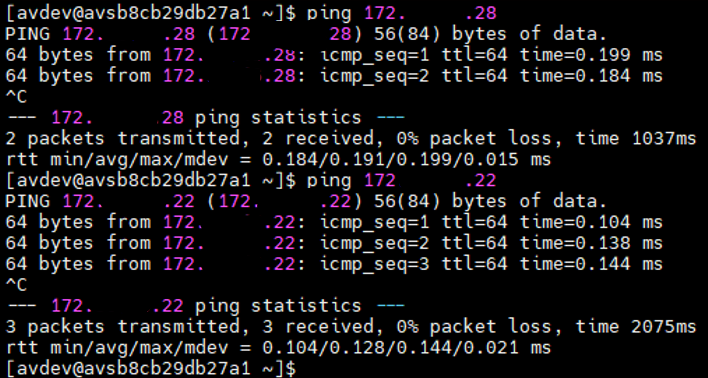
Verify the network connectivity between audit vault, database firewall and target servers.
Note: If using only Audit vault server for implementation check the connectivity between AV and target servers
Login to the AV/DF/Target servers and issue the below command and verify the connectivity
ping 172.x.x.x
Database Firewall Server Post Installation Steps
Perform the below activities to complete the Database Firewall server post installation steps. This is completely optional if you’re implementing only Audit Vault.
Database Firewall Registration
This step is required only if database firewall is also implemented, for only audit vault implementations skip this step.
Register Database Firewall with Audit Vault Server
Login to the Audit Vault server console as AVADMIN
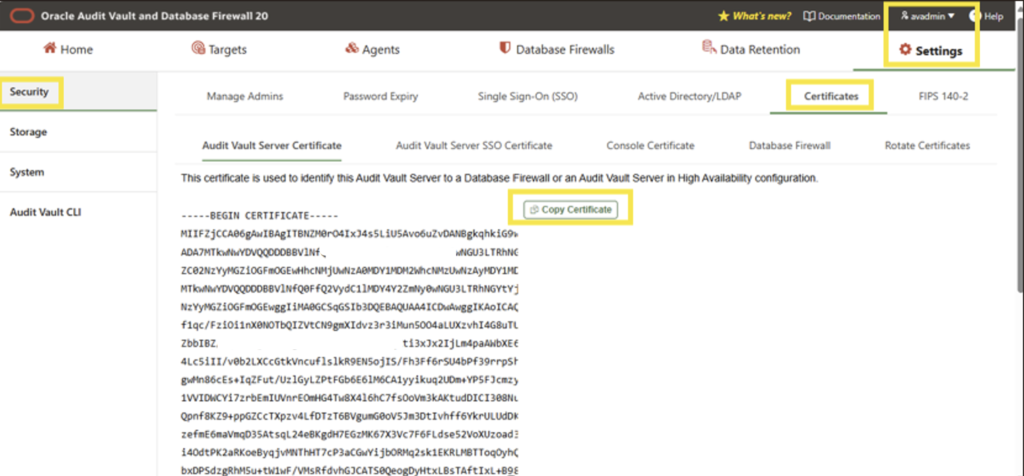
Click the Settings tab –> click the Security tab, click the Certificate tab –> then Server Certificate –> in the server certificate –> Copy Certificate
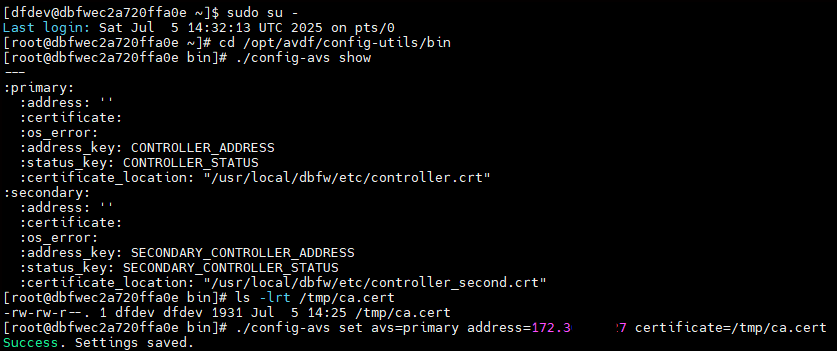
Login as root user in Database Firewall server using SSH
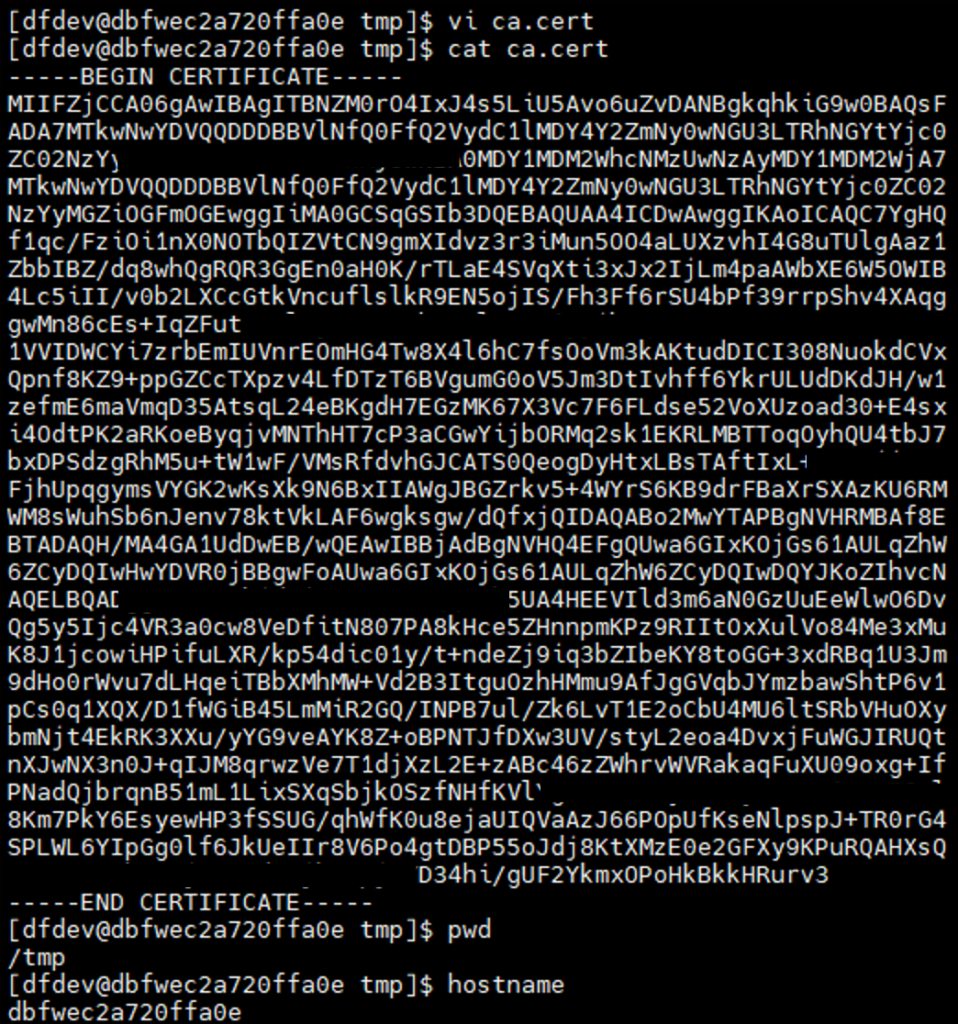
Create a file(/tmp/ca.cert)
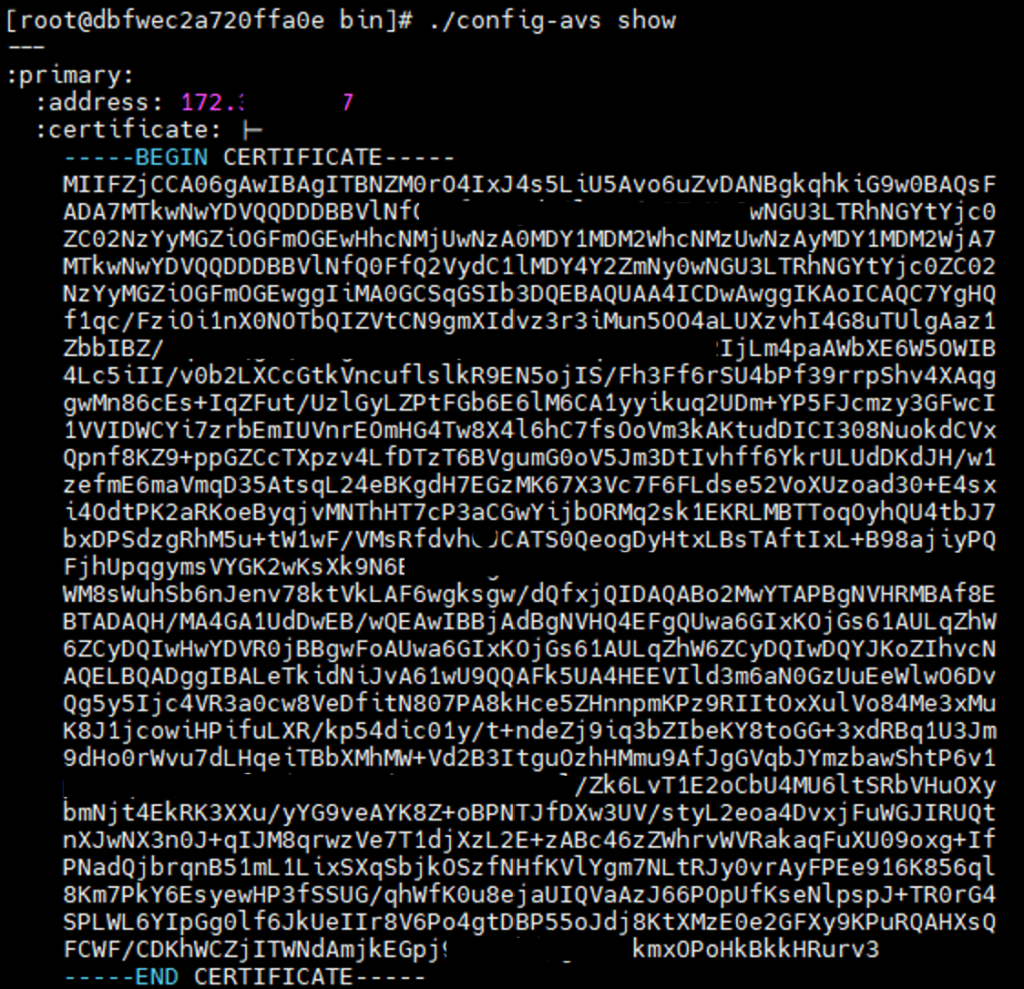
Execute the config-avs script providing the IP Address of the Audit Vault server and the location of the certificate file.
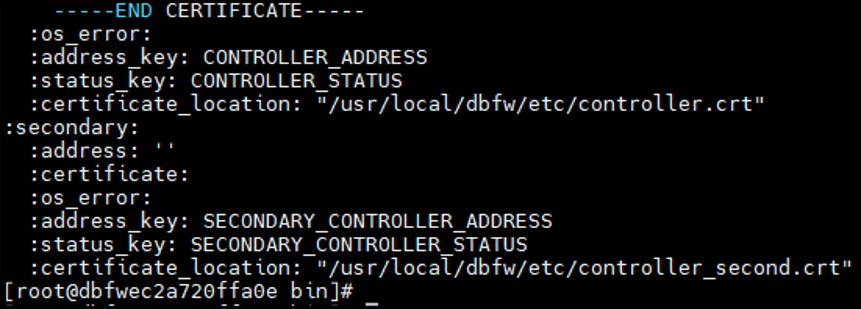
cd /opt/avdf/config-utils/bin ./config-avs show ./config-avs set avs=primary address=<IP address of Audit Vault Server> certificate=/tmp/ca.cert ./config-avs show
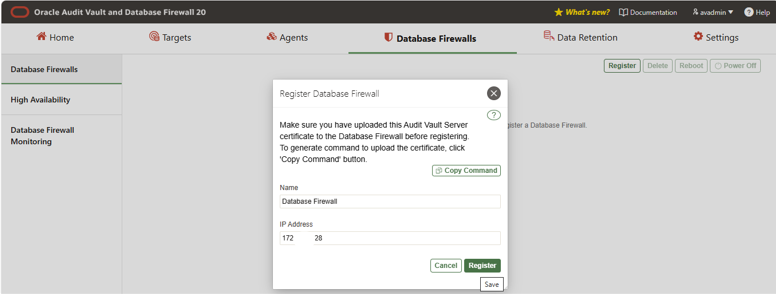
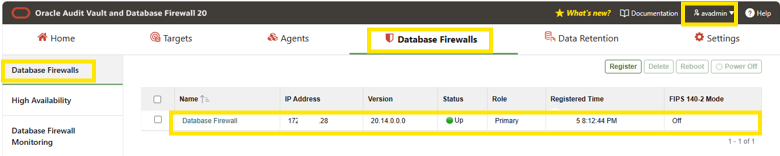
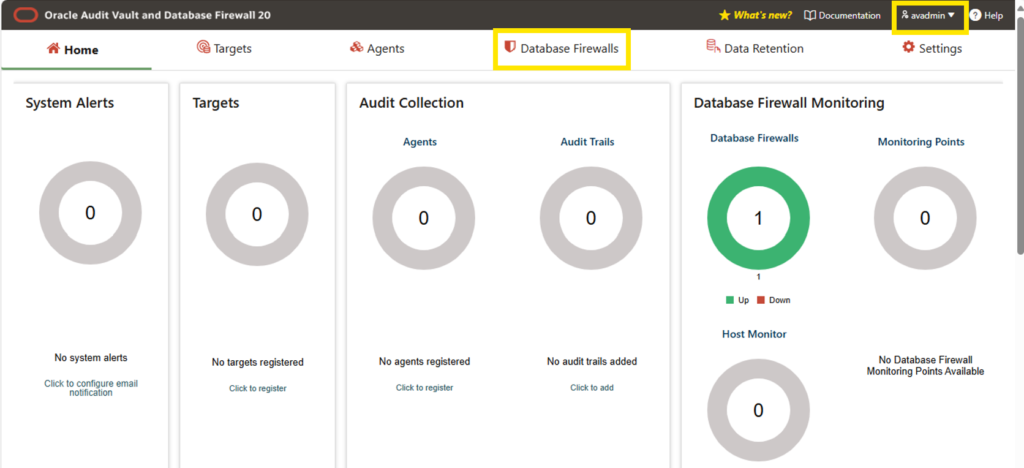
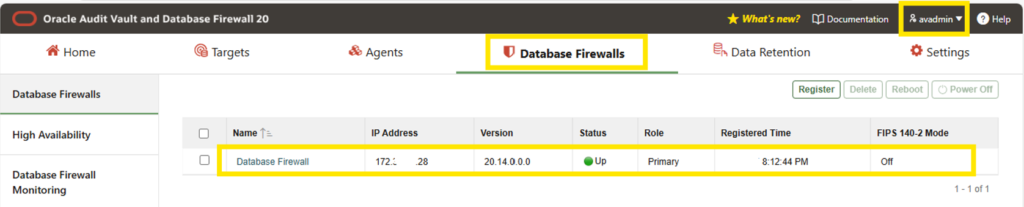
In the AVDF console as AVADMIN, Click on the Database Firewall tab
Click on Register option to register the Database Firewall. Enter the details and click Register
Name: Database Firewall
IP: 172.x.x.2x
Validate Database Firewall Setup
Validate the database firewall setup performed in the previous steps. Login as AVADMIN, navigate to Database Firewalls -> Database Firewalls you’ll see the above registered firewall details, and status shows green (meaning active).
Update Audit Vault and Database Firewall Servers Host Name
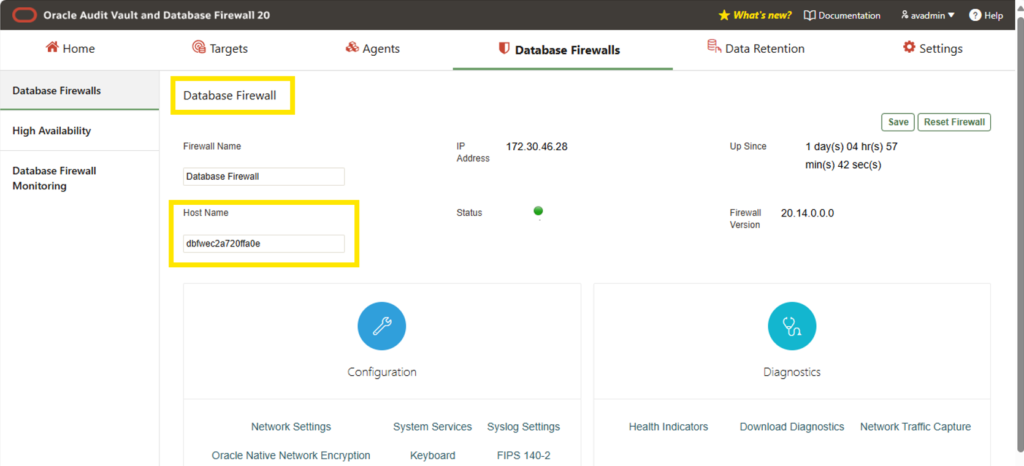
Changing the hostnames of the audit vault and database firewall servers is required as the hostnames after installation will have avs/dfw followed by random generated characters.
Changing Audit Vault Server Host Name
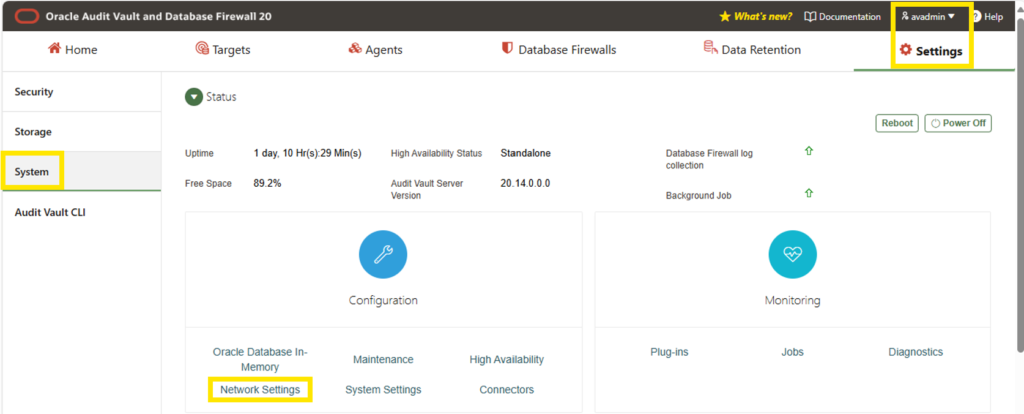
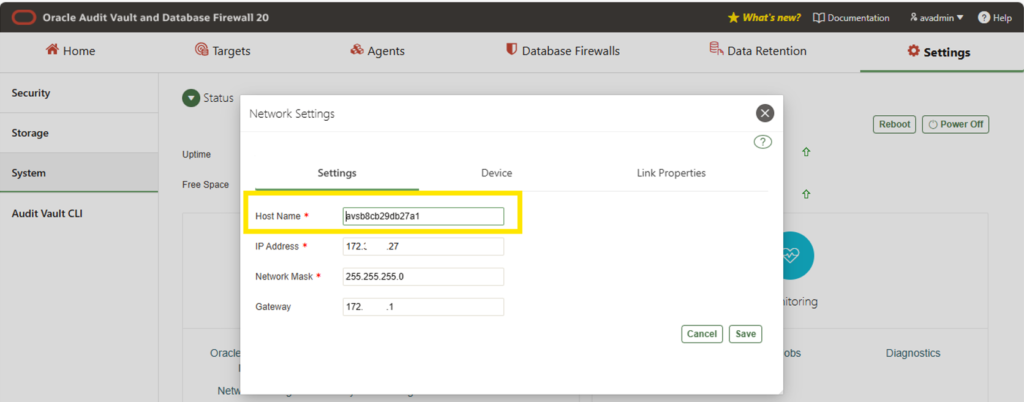
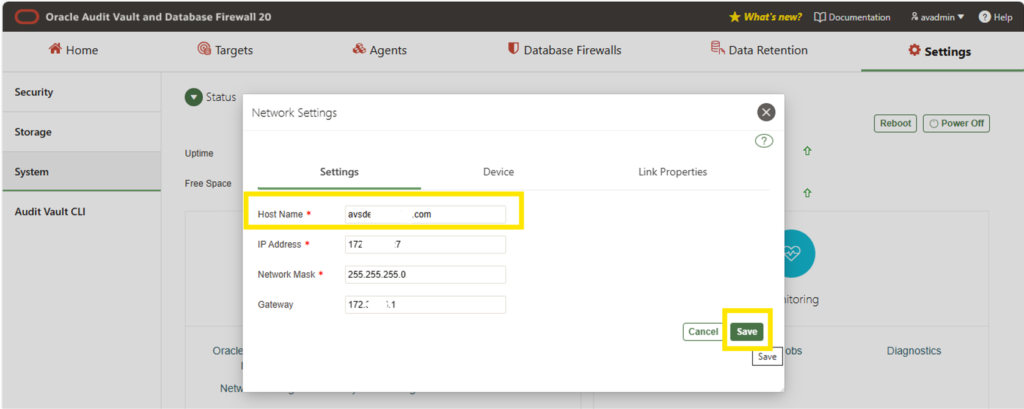
Login AV Console as AVADMIN -> Settings -> System -> Network Settings -> Enter Hostname of AV Server -> <host>.<domain>.com
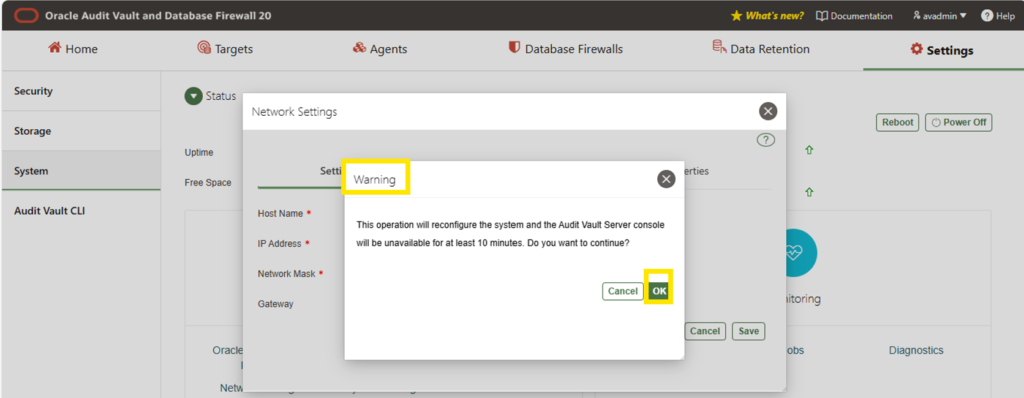
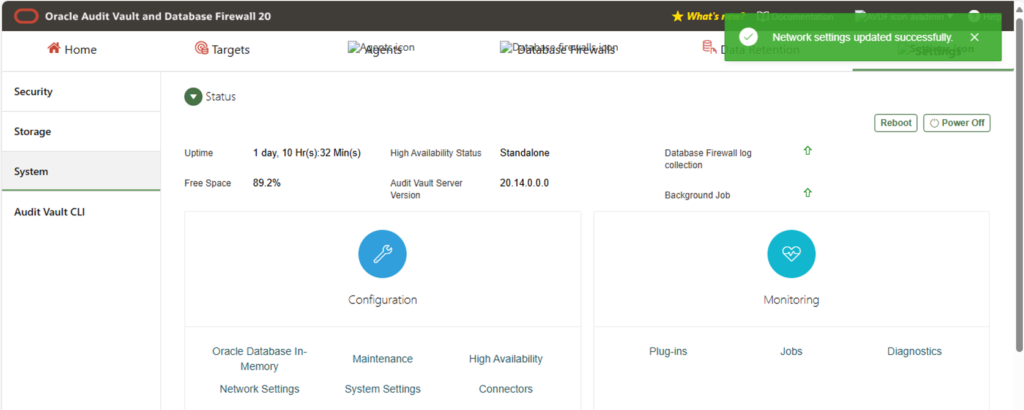
Note: Changing the hostname and saving will stop the services and reboot the server during this time AVDF console will not be accessible
After some time, the AVDF console will be available for access.
Verification of hostname change in Server level through SSH
Before:
After:
Validate the Services after Reboot
It is essential to verify the services after reboot of server, use below commands to validate the services through SSH.
systemctl status systemctl status dbfwdb systemctl status dbfwlistener systemctl status monitor systemctl status asmdb systemctl status controller systemctl status ords systemctl status javafwk systemctl status rsyslog
Changing Database Firewall Server Host Name
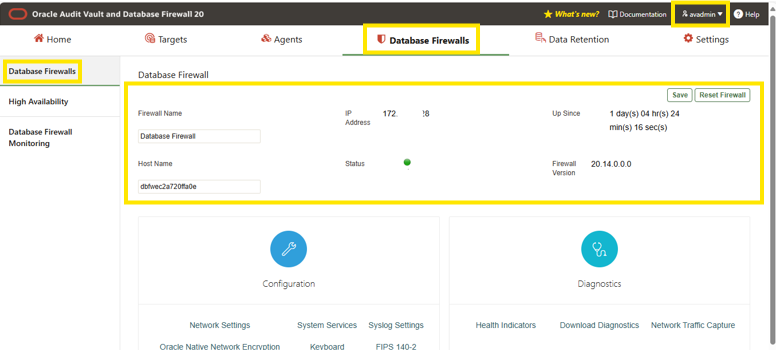
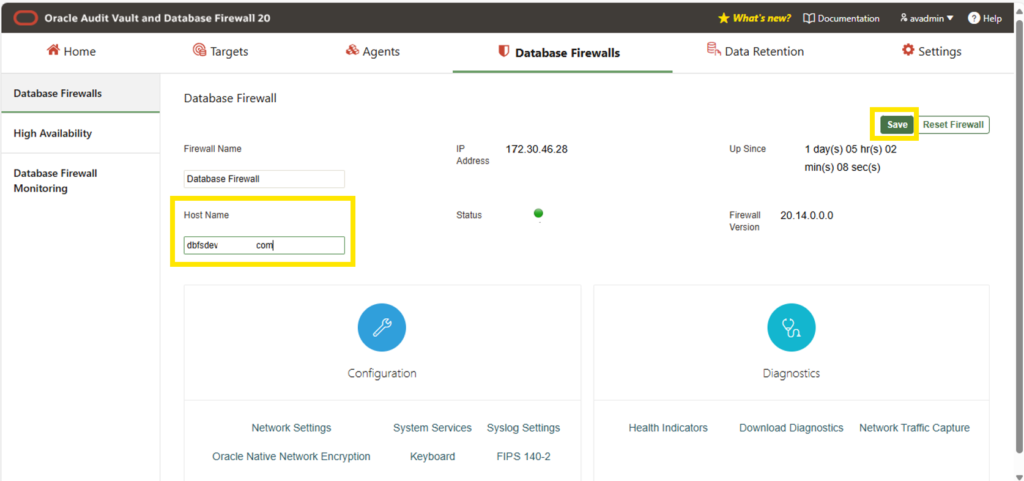
Login AV Console as AVADMIN -> Click Database Firewalls -> Click Database Firewall -> <host>.<domain>.com -> Save
Change the desired hostname in the Host Name section and Save
Note: Unlike AV server, DF server hostname change will not stop the access to AVDF console but the DF server will restart.
Verification of hostname change in Server level through SSH
Before:
After:
Validate the Services after Reboot
It is essential to verify the services after reboot of server, use below commands to validate the services through SSH.
systemctl status
Audit Vault Server DNS Server Configuration
Gather the DNS information from the network team and follow the below steps to update in the Audit Vault server.
The Audit Vault Server DNS servers are used to resolve any host names that Audit Vault Server might use.
Note: Set the Audit Vault Server DNS server values only if the network has DNS servers, otherwise system performance will be impaired.
Enter the IP addresses of up to three DNS servers on the network in the Server 1, Server 2, and Server 3 fields.
Leave the fields blank if there are no DNS servers and click Save.
To Be Continued . . .
In next post, we’ll be diving into the hands-on Target Parameter Changes, Deploying Audit Vault Agent, GoldenGate MAA Installation and Configurations, etc.,